At Hill engineering we are always looking out for new technologies to improve our laboratory capability. As a part of this ongoing mission, we recently acquired a Nikon ModelMaker H120 3D scanner to incorporate in our lab.
The Nikon ModelMaker H120 3D scanner works by projecting a laser line onto a surface and recording the location of the laser using a camera. It then uses triangulation to determine the distance from the scanner to the surface. The laser scanner is mounted on an arm equipped with encoders that track the absolute position of the scanner. The collected data is then used to generate a cloud of points mapped to the surface of the scanned part. This point cloud can then be analyzed as is, or processed further into a parametric model.

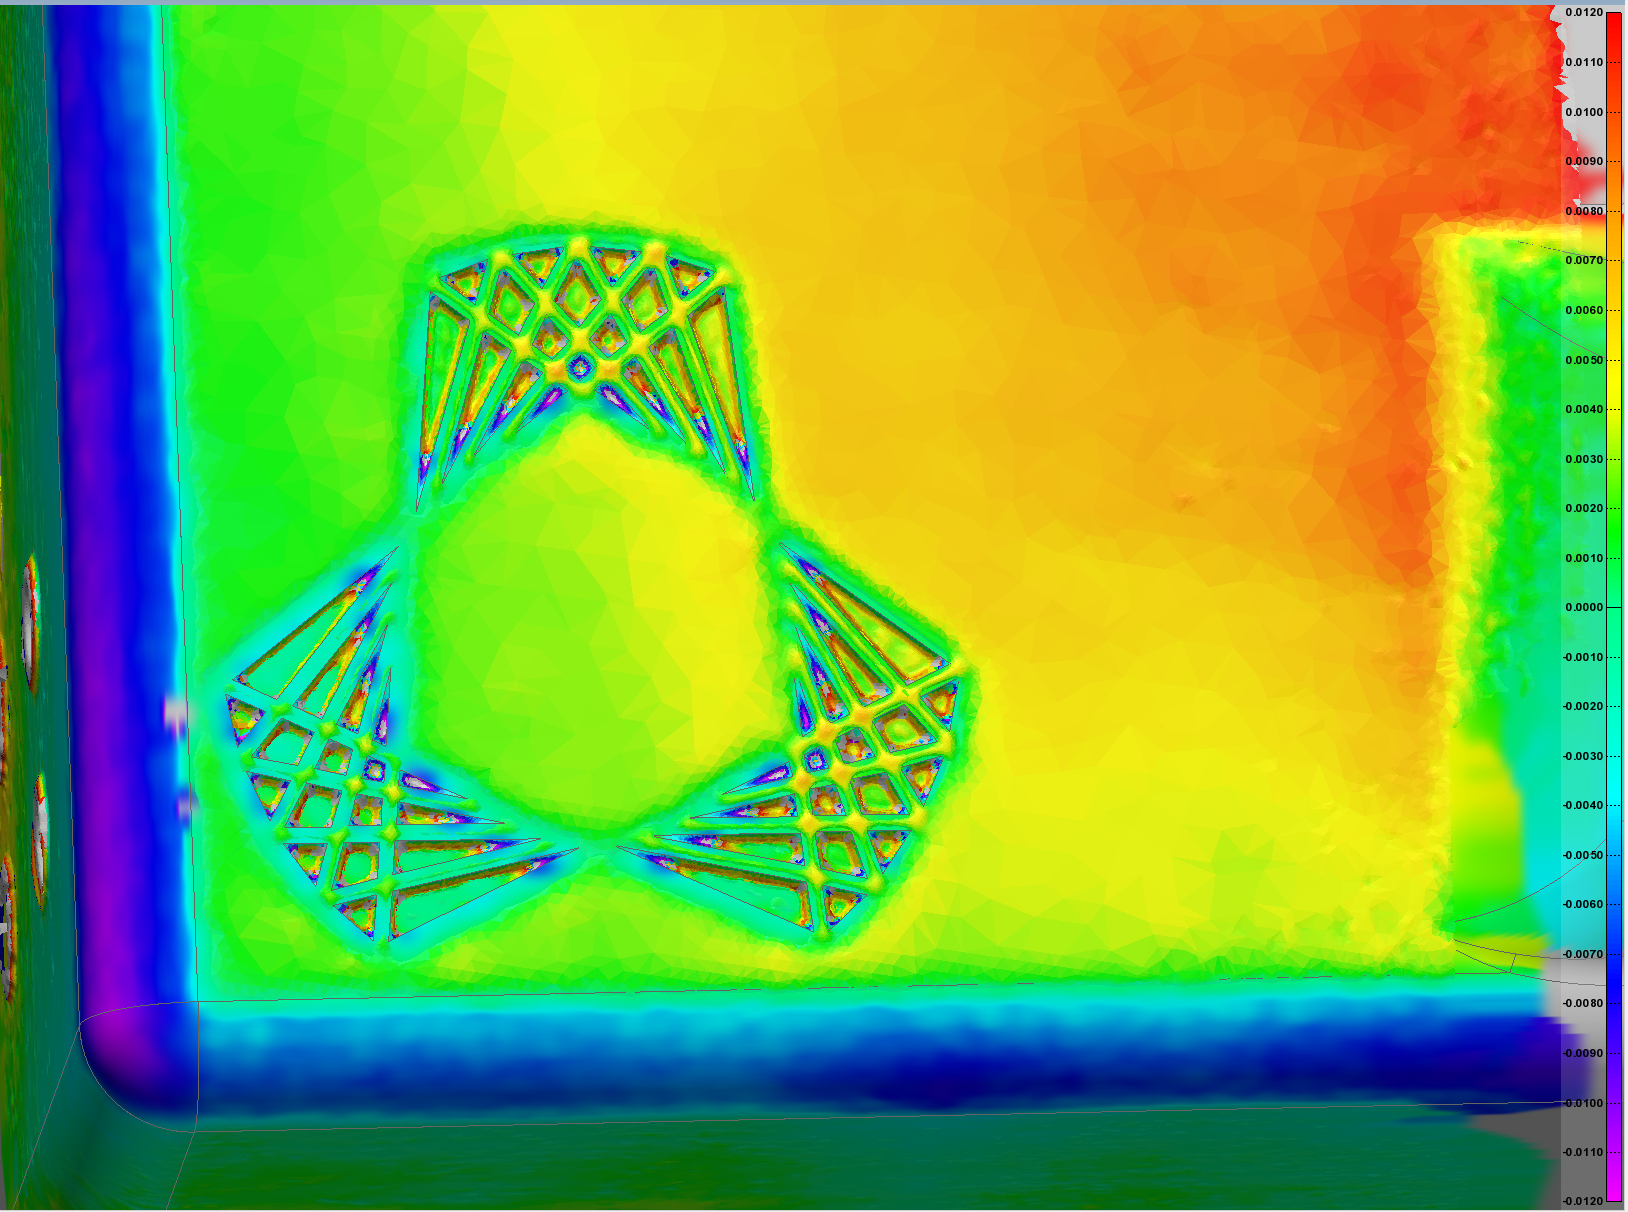
Colormap showing the displacement of a physical scanned part compared to the original CAD
This technology is useful for measuring processing-induced deformations. For example, comparing scan data of a part before and after material processing operations are performed. We are also using the scanner internally to create fixtures for complex parts by using scan data to model and 3D print fixtures that closely match the part’s geometry.
For more information about our 3D scanning capabilities and other services please contact us.