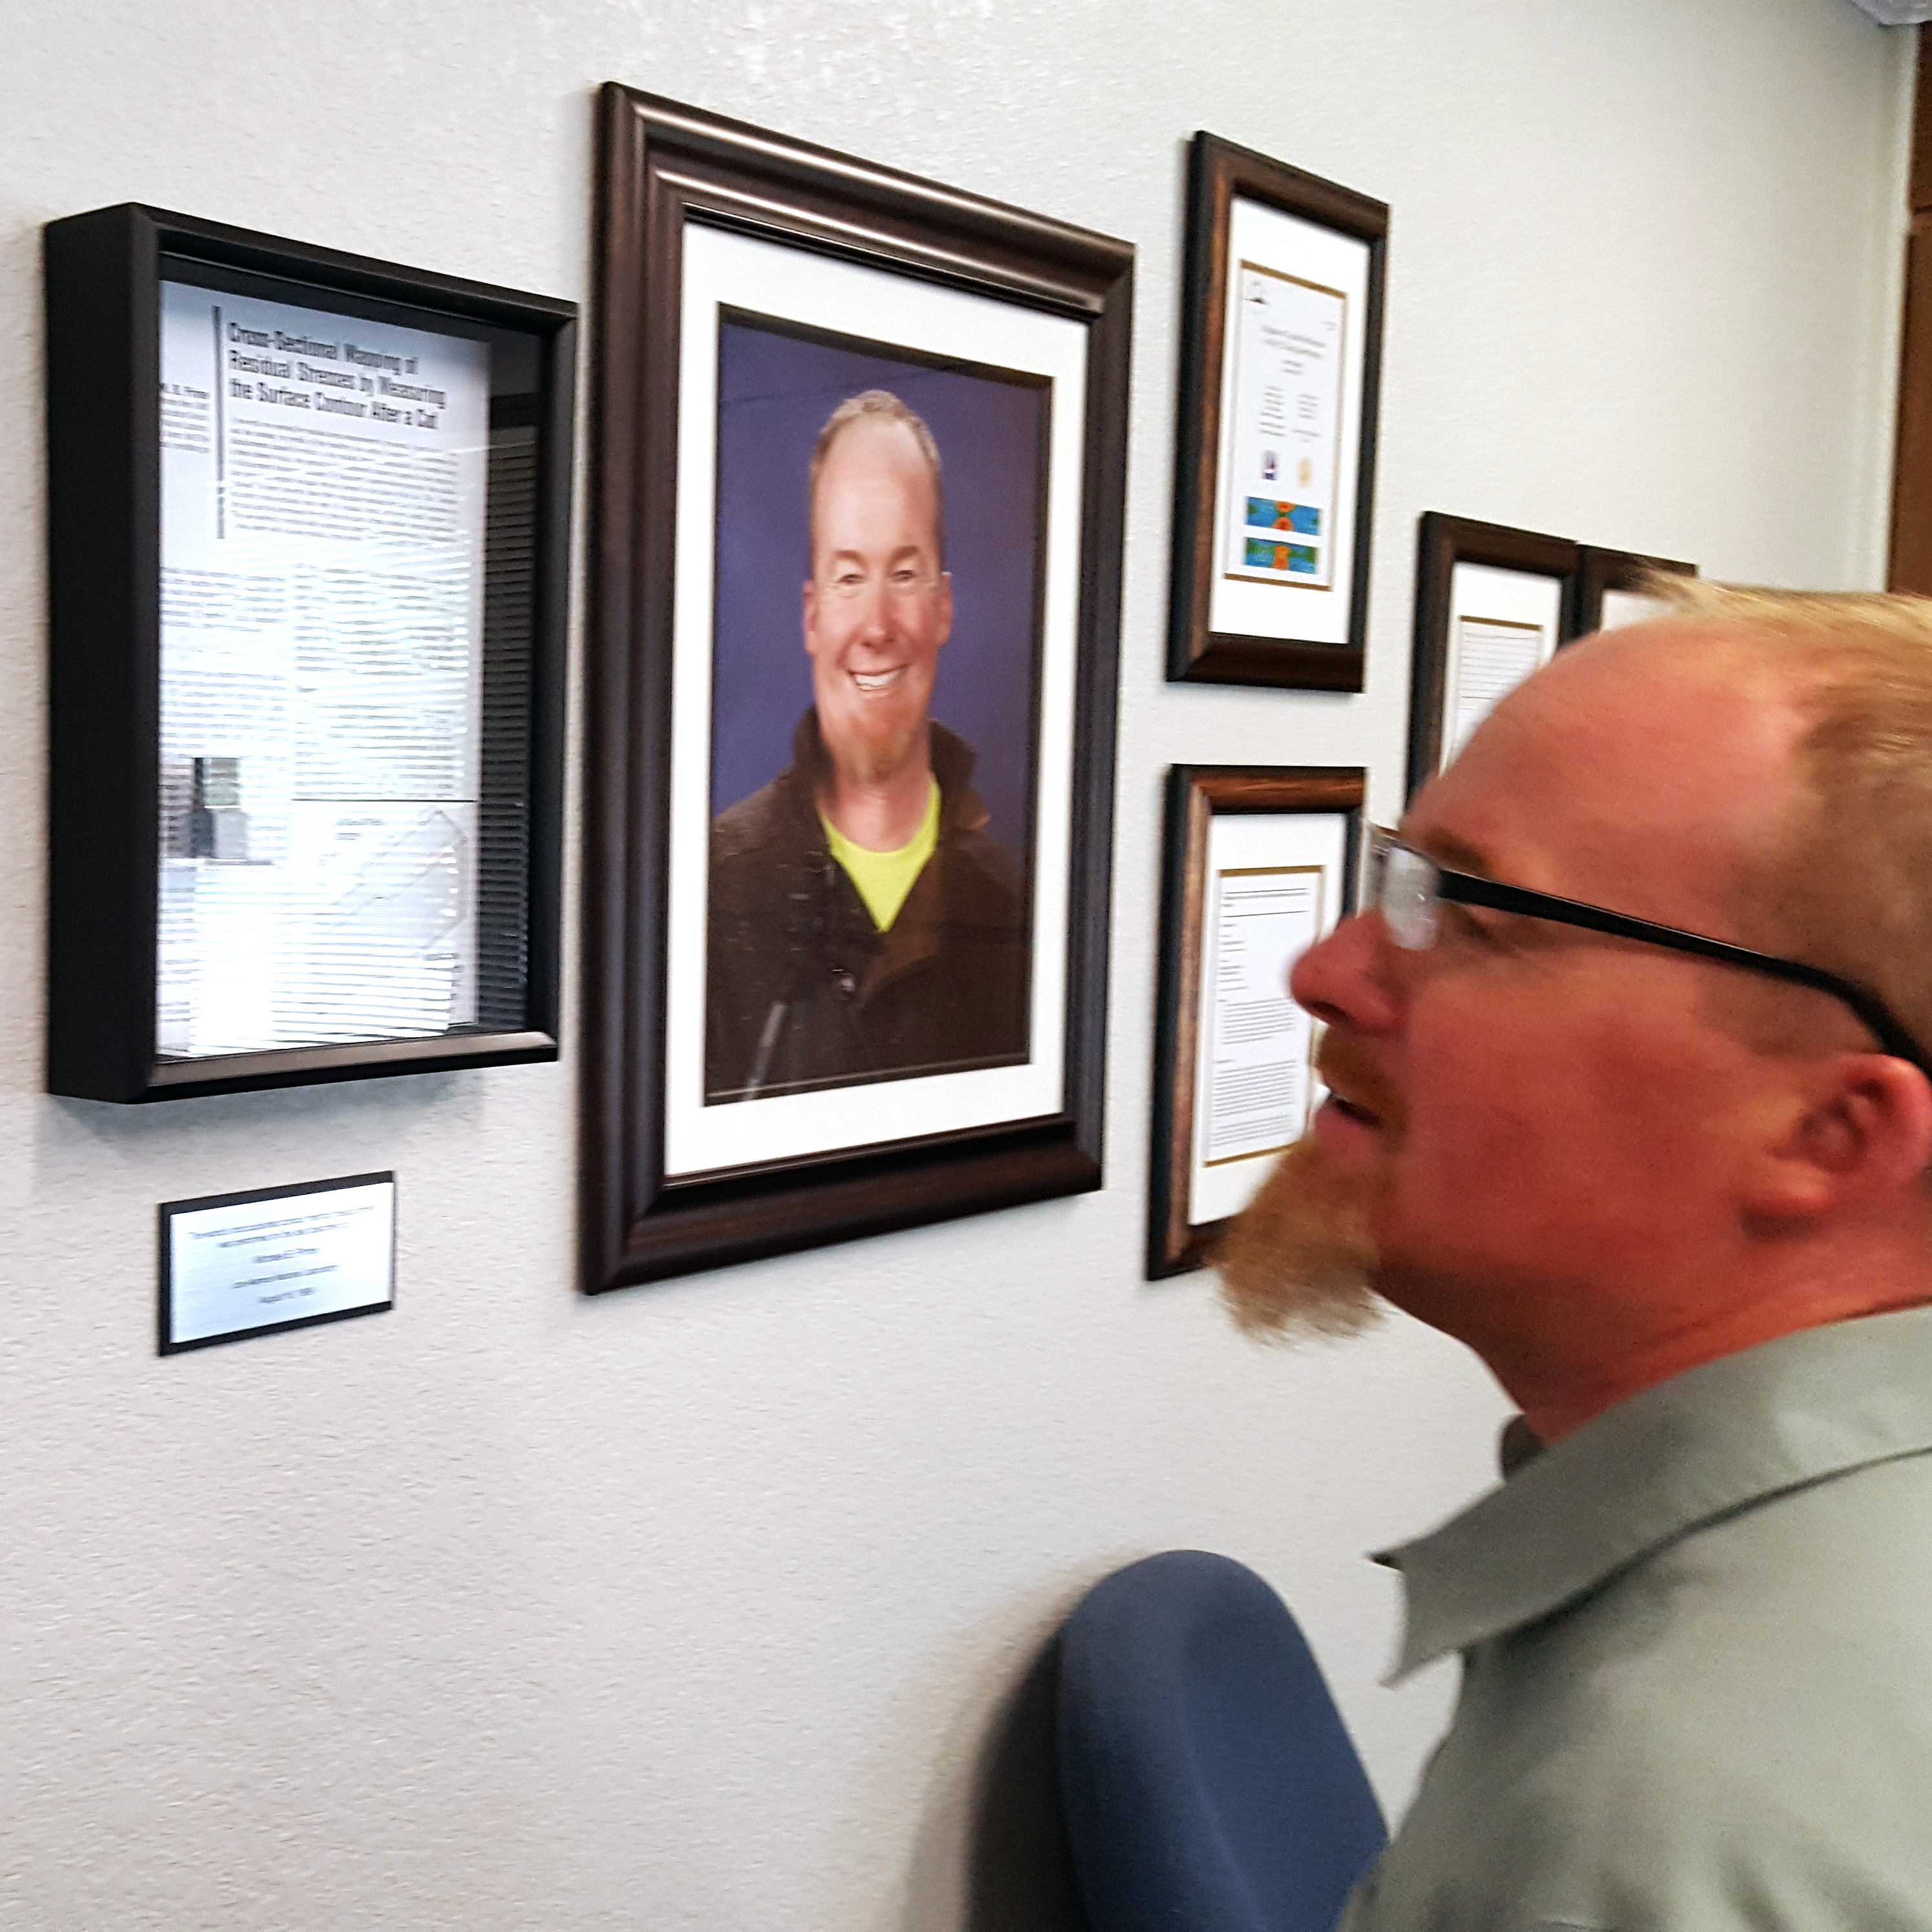
Hill Engineering’s new facility in Rancho Cordova, CA features a combination of laboratory, research and development, and office space. Our primary conference room is named in honor of Mike Prime, the inventor of the contour method. The Prime Room stands as a tribute to the creativity, insights, and support that Mike Prime has provided to Hill Engineering over the years. One of our favorite pieces on display in the Prime Room is one half of the specimen that was used for the first successful contour method measurement.
Mike originally conceived of the contour method concept for residual stress measurement in early 1999 and soon after performed some preliminary analytical studies and simplified experiments to further investigate the approach. On August 16, 1999, the team at Los Alamos National Laboratory successfully cut a plastically bent beam of 21Cr-6Ni-9Mn austenitic stainless steel with a known residual stress profile. This cut lead to the first contour method publication and marks a major milestone in the history of residual stress measurement technology.
One half of the first contour method measurement specimen is currently in a glass case in the Prime Room at Hill Engineering. We are honored to have such a historically significant exhibit on display – it is often the highlight of the trip for visitors who come to our office. We were recently able to show it off to Mike Prime during his ribbon cutting visit.
The contour method is one technique by which Hill Engineering can service residual stress concerns. Please contact us to let us know how we can support your residual stress measurement needs.

Mike Prime enjoys a look at one half of the first contour method specimen on display in the Prime Room at Hill Engineering